Saved here for my own reference, and possibly others’ if they should stumble across it: the easiest workflow I’ve found yet for converting DVDs or Blu-Rays for personal use on macOS, including conversion of subtitles from either Closed Captions, VobSub (DVD), or PGS (Blu-Ray) format to text-based .srt files suitable for use as soft subtitles, either as a sidecar file or included in the final movie file. (Updated from my original 2015 post to account for software and process changes).
Rip the System Disk

Use MakeMKV to rip the DVD or BluRay disc to .mkv files.
Since I’m archiving special features as well as the main program, I simply rip every title on the disk longer than 30 seconds, and then trash any that I don’t need (such as menus, studio promos, etc.). I do check to make sure that all English-language audio or subtitle tracks are selected; usually they are by default, but I’ve seen rare situations where they need to be manually checked.
Once all the .mkv files have been created, I go through and rename each one to be something more descriptive than title_t03.mkv.
Extract the Subtitles

For each .mkv file, use Subler to extract the subtitles. This takes two passes through Subler to complete.
- First, drag the
.mkvfile onto Subler, and deselect everything but the subtitle track(s) that you want to convert.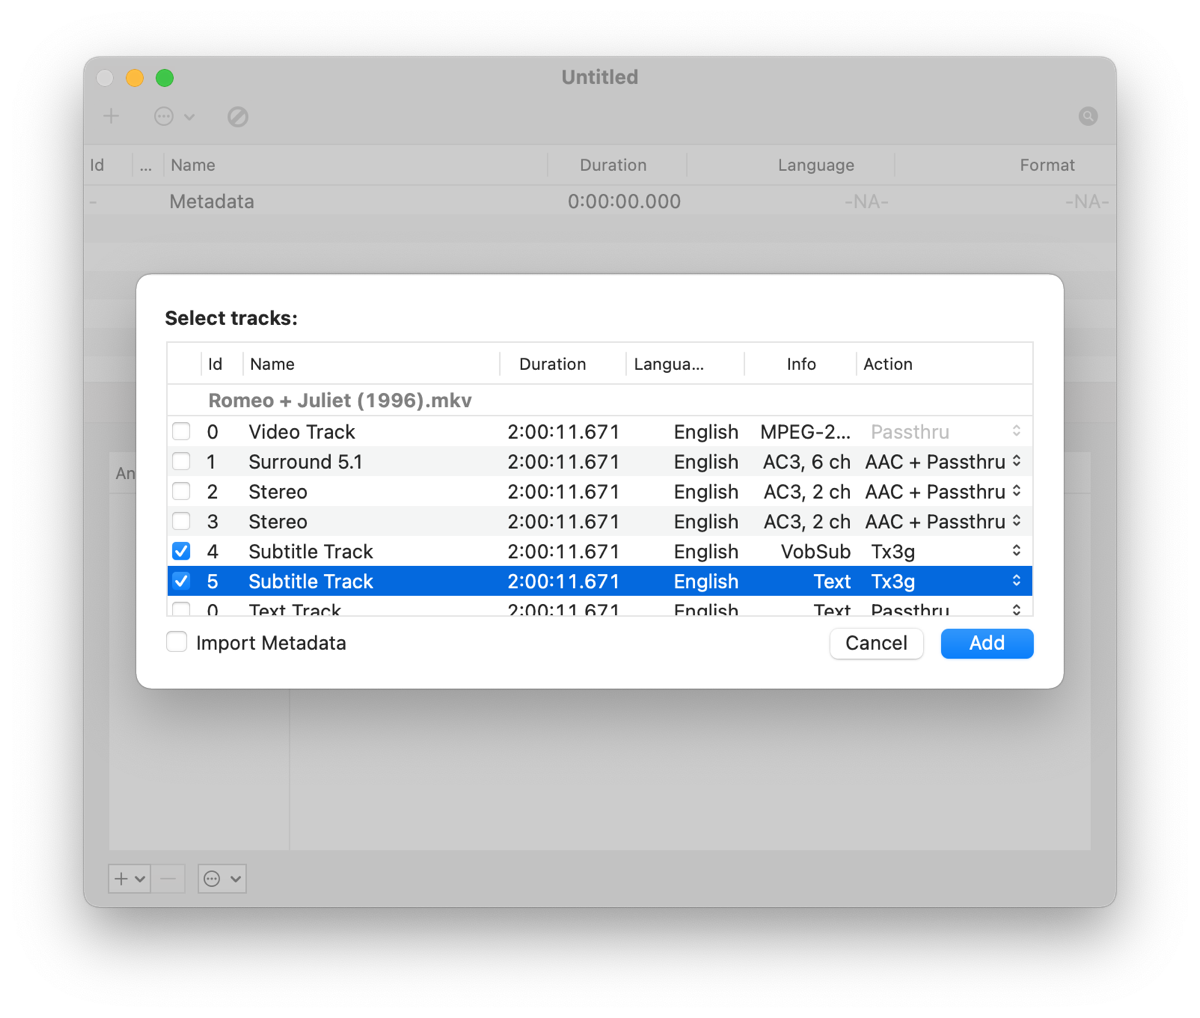
Subler’s “Info” column will describe the subtitles as either VobSub, PGS, or Text. I used to convert them all so that I could choose which gave me the best results; now, I’ll ignore VobSub/PGS if Text is available (but it’s less common).
VobSub or PGS: These are the most common subtitle types. They’re actually a series of image files (
.png, I think) with attached timing information that media players layer over the video stream. The advantage is that font, color, size, placement, and even fancier graphics (sometimes used for “pop up trivia” style tracks) are all at the creator’s discretion; the disadvantage is that because they’re image files, the text has to be extracted through an OCR (optical character recognition) process that frequently leads to typos and garbage characters.Text: These are Closed Caption files. I’m not sure how they’re stored on the physical disks, but current versions of MakeMKV convert them to text during the process of ripping to
.mkv. I’ve generally found these to have far fewer typos and oddities than OCR’d VobSub or PGS subtitles. However, it’s often a toss-up as to whether the captions are presented using standard captalization or in ALL CAPITALS, and they use varying numbers of space characters to manually place text centered or off-centered. Depending on how picky you are about the output, these factors can affect how much post-processing is needed.After choosing the subtitle tracks and clicking “Add” to create a new Subler document, you can either save the Subler document (fine if you’re only doing a single file) or use File > Send to Queue to create a batch queue (best if you’re converting multiple files). When the file is saved or the queue is run and all queued files are saved, Subler will either extract the Closed Caption text or OCR the subtitle images and output a small
.mp4file. -
Second run; drag the new
.mp4file back onto Subler, click on the subtitle track(s), and choose File > Export… to save the .srt file(s). The tiny.mp4file can then be deleted.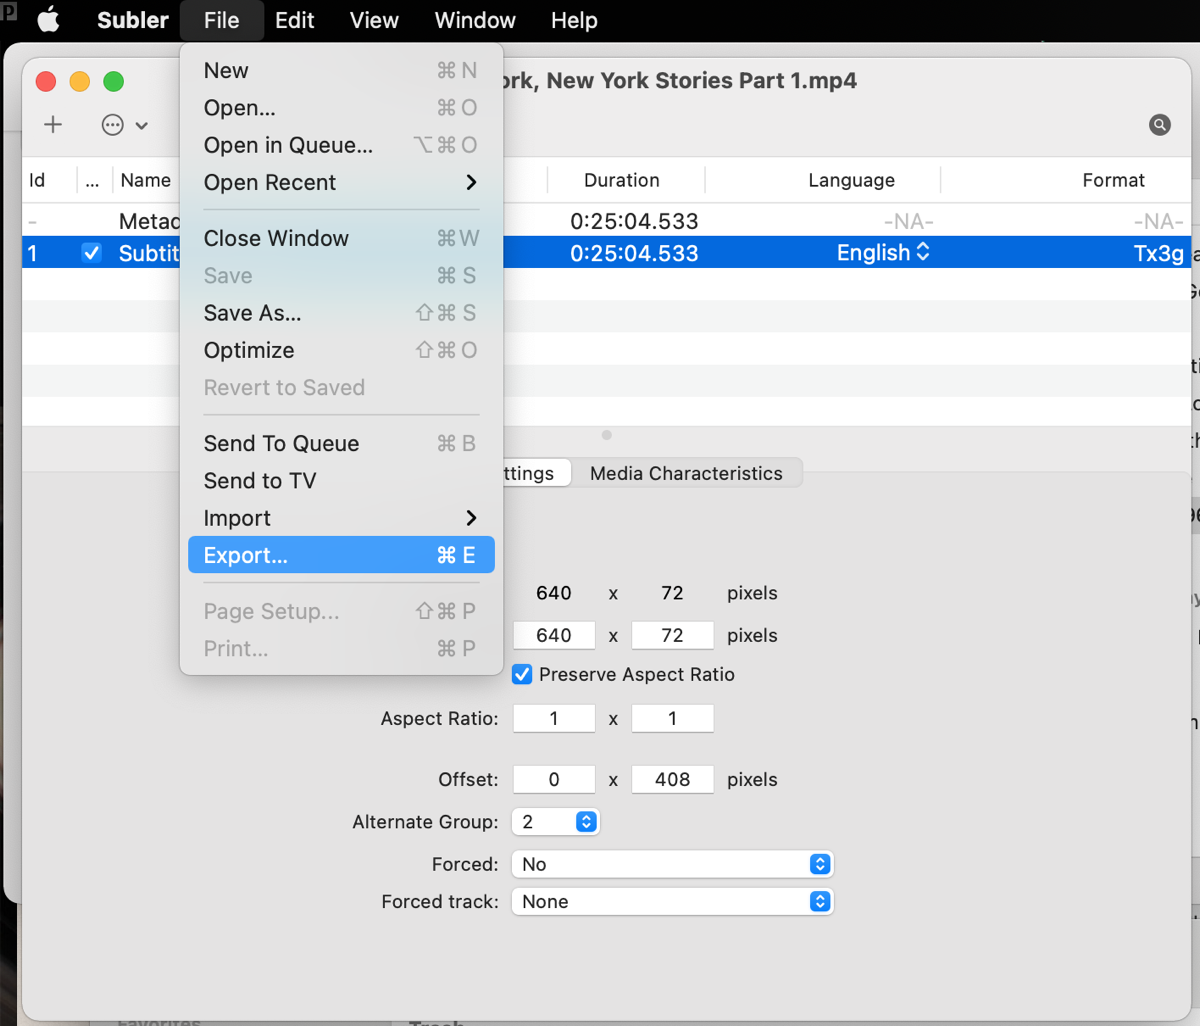
Correct the Subtitles
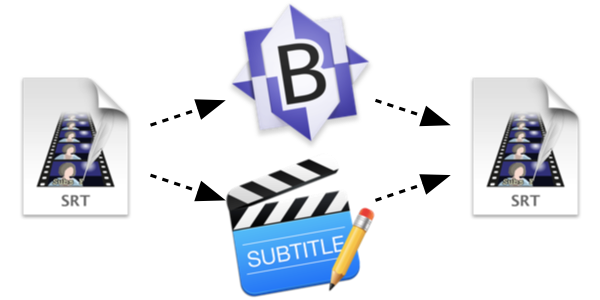
As noted above, the exported .srt file(s) are virtually guaranteed to have some oddities; how many and how intrusive they are depends on the source. Caption files are often in ALL CAPS and have weird spacing used to force the text to a desired on-screen position. Subtitle files will contain OCR errors, but BluRay (PGS) subs seem to come out better than DVD (VobSub) subs (likely due to the higher resolution of the format giving better quality text for the OCR process to scan). Accuracy is also affected by the chosen font and whether or not italics were used.
For correction, I use a couple methods.
- For a quick-and-dirty “good enough most of the time” run, I use BBEdit (but just about any other text editor would work) to do a quick spellcheck, identifying common errors and using search-and-replace to fix them in batches.
I’ve actually set up a few scripts to automate the most common search-and-replace steps to help with this process.
-
For a real quality fix–or if I have the time to create subtitles from scratch for a file that doesn’t have any–I use Subtitle Edit Pro to go through line-by-line, comparing the text to the original audio, adding italics when appropriate, and so on. (I used to recommend Aegisub, but that project appears to have been abandoned a few years back. There doesn’t seem to be a big market for subtitle editing on macOS; Subtitle Edit Pro is the best option I’ve found since Aegisub stopped working consistently.)
Of course, these two processes can be combined, done at different times, or skipped entirely; if I don’t have time or energy to do the error correction, I can always go back and use Subler to extract the .srt files for cleanup later.
Embed the Subtitles
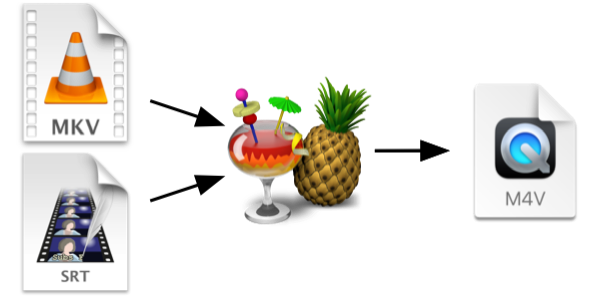
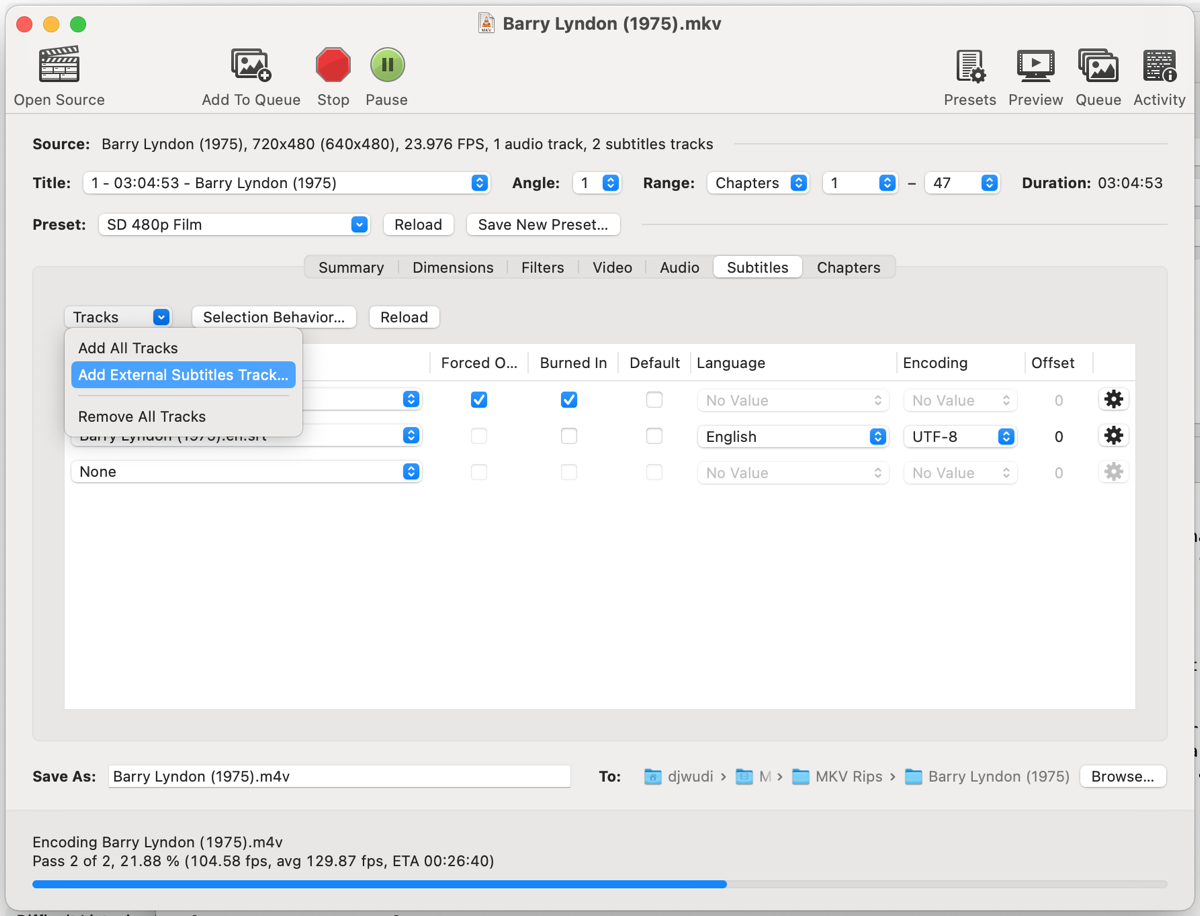
Use HandBrake to re-encode and convert the .mkv file (which at this point will be fairly large, straight off the source media) to a smaller .m4v file. Include the subtitle file by choosing Tracks > Add External Subtitles Track… in HandBrake’s Subtitles tab.
Or, if you’re already working with an .m4v file, you can use Subler to add .srt files to into the .m4v: Drag the .m4v file from HandBrake on to Subler, drag the .srt file(s) into the window that opens, and then save the file.
Finito!
And that’s it. Now, you should have a .m4v file with embedded text-based soft subtitles.
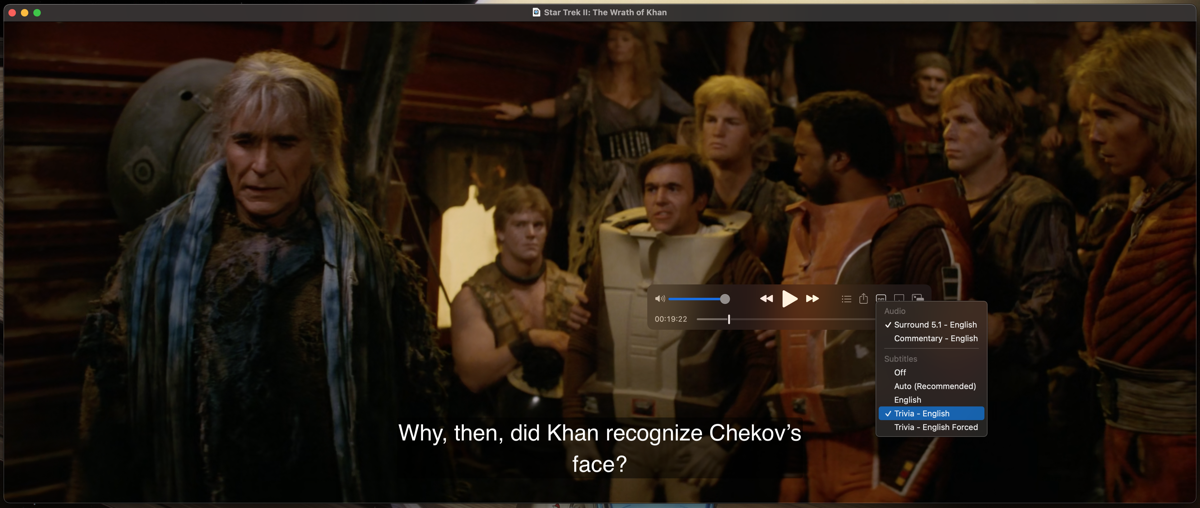
You can also just store the .srt file(s) in the same directory and with the same name as the .m4v file for apps that don’t read embedded .srt files but will read sidecar files.

