DVD/Blu-Ray conversion with text soft subs on Mac OS X

NOTE: This post should be considered deprecated in favor of this update for 2021. I’m leaving this here, but the new post is the preferred version.


Saved here for my own reference, and possibly others’ if they should stumble across it: the easiest workflow I’ve found yet for converting DVDs or Blu-Rays (if you have a Blu-Ray reader, of course) for personal use on OS X, including OCR conversion of subtitles in either VOBSUB (DVD) or PGS (Blu-Ray) format to text-based .srt files suitable for use as soft subtitles, either as a sidecar file or included in the final movie file.

Movie Rip Workflow

The flow diagram to the right gives an overview of the process I’ve landed on. Here’s a slightly more detailed breakdown.

  1. Use MakeMKV to rip the DVD or BluRay disc to an .mkv file (if I run into a stubborn DVD, or one with a lot of multiplexing, I’ll use RipIt to create a disk image first, then run that image through MakeMKV). To save space, you can select only the primary audio track for inclusion, or you can select others if you want other languages or commentary tracks archived as well (though this will require more storage space). I also select all available English-language subtitle tracks, as some discs will include both standard subtitles and subtitles for the hearing impaired or closed captions, which include some extra information on who is speaking and background sounds, or occasionally even transcriptions of commentary tracks.
  2. Use Subler to OCR and export the subtitle files. This takes two runs through Subler to complete.
    1. First run; drag the .mkv file onto Subler, and only select the subtitle track(s). Pop that into the export queue, and after a few minutes of processing (this is when the OCR process happens) Subler will output a tiny .m4v file.
    2. Second run; drag that file back onto Subler, click on the subtitle track, and choose File > Export… to save the .srt file(s). The tiny .m4v file can then be deleted.

    Now, the OCR process is not perfect, and the resulting .srt file(s) are virtually guaranteed to have some errors. How many and how intrusive they are depends on the source. BluRay subs seem to come out better than DVD subs (likely due to the higher resolution of the format giving better quality text for the OCR process to scan), DVD subs are also affected by the chosen font and whether or not italics were used. For correction, I use one of two methods.

    1. For a quick-and-dirty “good enough for now” run, I use BBEdit (but just about any other text editor would work) to do a quick spellcheck, identifying common errors and using search-and-replace to fix them in batches.
    2. For a real quality fix, I use Aegisub to go through line-by-line, comparing the text to the original audio, adding italics when appropriate, and so on.

    Of course, these two processes can be combined, done at different times, or skipped entirely; right now, I’m just living with the OCR errors, because I can always go back and use Subler to extract the .srt files for cleanup later on when I have more time.

  3. Use HandBrake to re-encode and convert the .mkv file (which at this point will be fairly large, straight off the source media) to a smaller .m4v file. You can either embed the .srt files at this point, under HandBrake’s ‘Subtitles’ tab, or if you prefer…
  4. …you can use Subler to .srt files into into the .m4v: Drag the .m4v file from HandBrake on to Subler, drag the .srt file(s) into the window that opens, and then drop that into the queue for final remuxing (optionally, before adding the files to the queue, use Subler’s metadata search tools to add the description, artwork, and other metadata). Then run the queue to output the final file.

And that’s it. Now, you should have a .m4v file with embedded text-based soft subtitles for programs that support that (VLC, Plex, etc.), or you can just use the .srt file(s) created by Subler earlier as a sidecar file for programs that don’t read the embedded .srt.

Trust

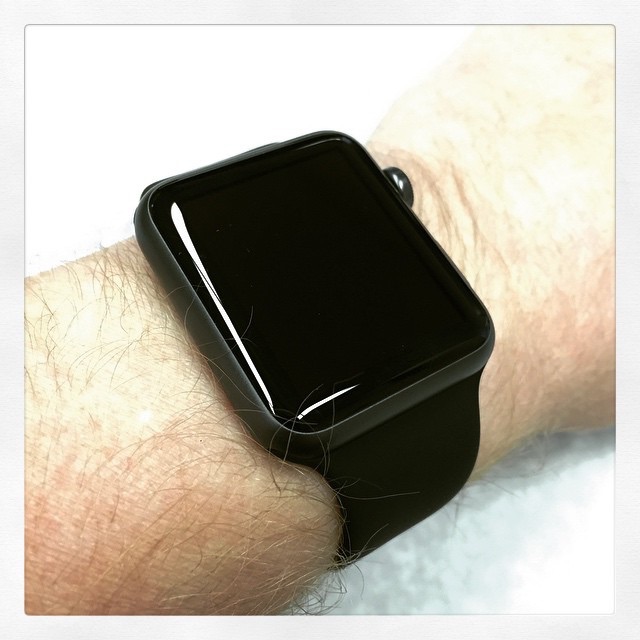
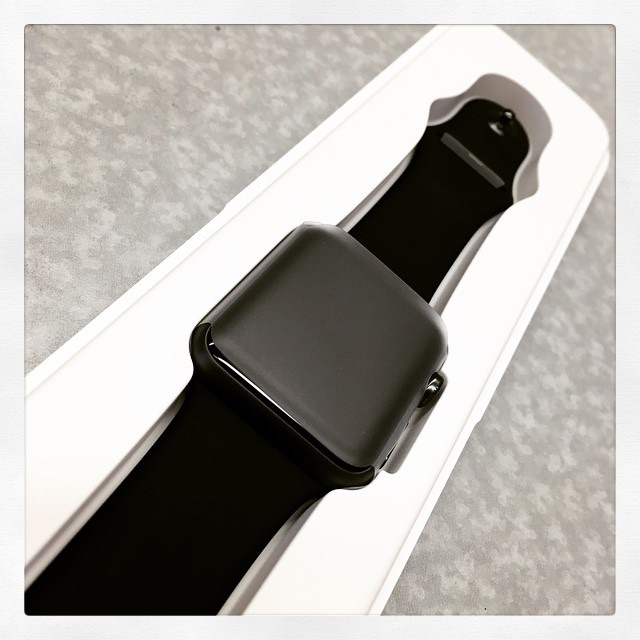
There has been a tendency to mock people that want to buy products simply because a certain company makes them. Some will say this type of buyer is being guided by marketing, or is just a follower, but in reality it comes down to trust. Many people trust Apple. It is this very important connection with users that will likely get people to at least try the Apple Watch, and for Apple that is the best outcome they can wish for.

There is a better than 50% chance that I’ll be ordering an Watch on the day they’re added to the Apple Store.

Input-Only iPad

The iPad has lots of good creation tools, but it really does excel at providing a convenient way to veg out, and as much as I like having it, I think it has been more than a little responsible for my lack of blogging. Why take the time and effort to write anything when it’s so easy to kick back and let page after page of text and images flow past my eyes?

Meanwhile, I’ve neglected posting to Eclecticism; I have probably a few gigabytes of audio ripped from old vinyl waiting to be processed, imported to iTunes, and perhaps posted to Vinylicious; when I bother to pick up my camera, shots sit on the memory card for weeks or months, and then sit in Aperture for months before I finally get around to processing them and posting to my Flickr account; and who knows how many other projects have been left half-finished here and there.

All in all, while it’s been a busy year, on this level it feels like I don’t really have much to show for it.

So: As the iPad does have the capability to be far more than just a portable idiot box, it’s time to start taking advantage of that. I’ve got the iPad, a text editor, a nice little wireless keyboard (the onscreen keyboard works great and all, but it’s best for short bursts of text–tweets, status updates, comments, short emails, etc.–a real keyboard is much nicer for anything longer than one or two paragraphs), and a whole mess of lately underused grey matter rattling around in my skull. In theory, I should be able to put those together and, perhaps, get back in the habit of babbling on a semi-regular basis.

Flare

A fun new piece of photo editing/post-processing software was just released yesterday evening. One of the features that’s become very popular in many of the iPhone photo apps like Camera+ or Instamatic is the easy ability to apply post-processing filters and special effects. Often designed to mimic the analog effects of toy plastic cameras, old film, faded prints, and other imperfections, these filters have become a popular way to add an artistic touch to digital photos.

However, such effects haven’t been that easy to mimic in desktop apps — not impossible, but not one-click simple, and that’s where Flare comes in.

Satyr Dance

Flare makes adding these kinds of retro effects to any photo incredibly simple: just drag a photo into the window, choose a filter to apply, and export the finished photo to email, a new file, or Flickr. Flare comes with 24 filter presets, and has a small selection (which will apparently be expanded over time) of extra presets that can be downloaded and added to the lineup.

i love you (again)

Not content with that, though, each preset is completely editable. The presets are created by mixing together and adjusting combinations of color, texture, border, and effect, and each preset can be adjusted to tweak the final output, or new combinations can be built from scratch. Once the final look is chosen, the settings can be saved as new presets for use on other photos later on. Presets can even be exported from Flare and shared with others (here’s a sample of that effect).

Swimming

This is a 1.0 release, and while I’ve been enjoying playing with Flare and haven’t run across any bugs, there are some things that I’d love to see in future releases. At the top of my list is image importing: At the moment, the only way to bring an image in to Flare is either a standard “open file” dialog or by drag-and-drop. While this is great for initial simplicity, I tend not to have image files lying around in directories. Rather, they’re all stored in iPhoto or Aperture libraries. While dragging from another program is easy enough, that requires me to have both applications open and taking up screen space. Integrating the standard Mac OS iPhoto/Aperture image browser would make selecting photos to work with much easier.

Update: Thanks to @talosman for pointing out that Mac OS X already has image library support built directly into the “open file” dialog. Just select “Media” from the left hand sidebar, and your iPhoto and Aperture libraries pop right up. Slick! Funny how features like this can easily go overlooked, I’d never stumbled across that before.

I’d also love it if Flare could be more tightly integrated into Aperture. Right now, Flare doesn’t work as an external editor for Aperture (when saving a file after making adjustments, Flare writes to a new file rather than to the file that Aperture created, so the changes don’t get pushed back to Aperture) — and even if it did, I prefer having Aperture tied to the more full-featured Photoshop as an external editor. As Flare is essentially a one-trick pony (admittedly, a very well-trained pony), I’d love to see it available as an Aperture plugin. Happily, there are hints that this is something that may be coming in the future.

Flying High

All in all, I’m really impressed with Flare, and had a lot of fun playing with it and exploring different filters and combinations of effects. Flare is $20, and is on sale for half off ($10) for its first week (until March 18th) if bought through the Mac App Store. It’s definitely worth checking out.

Court Briefing/Pleading Template for Apple Pages (iWork)

Here’s another Apple Pages template I created for my school work, this time for my Legal Writing class. This is a court briefing (or pleading) template, based (more or less) on the court standards for Washington State.

It must be stressed that I in no way guarantee that this template exactly satisfies the requirements of the court system of Washington or any other state, or the requirements of any class you might be taking. I have merely formatted it as best as I can, given the information I have available and my instructor’s requirements. I believe it should be fairly close, however, and it should be adaptable to full compliance for other jurisdictions with a minimum of work. I think.

Thanks to the excellent Typography for Lawyers website, which is an excellent resource not just for lawyers, but for anyone interested in improving the presentation of their work.

Feel free to download and use the template (198k .template file). Just download and (for easiest use) place in your ~LibraryApplication SupportPagesTemplatesMy Templates folder.

(I didn’t bother translating this to Microsoft Word format, as there are a number of similar templates for Word bundled with Word or already floating around the web, including some on Microsoft’s own website. Unfortunately, Apple doesn’t include any legal templates with Pages, and I didn’t find many during my searches…so here we are.)

##Version History##

  • 2010.11.10: First upload.

HTML5 Audio Safari Extension

From HTML5 Audio Safari Extension // ShaunInman.com:

HTML5 Audio Safari extension currently replaces the default Tumblr audio player (with or without Flash) and WordPress Audio Player (without Flash).

Comes in very handy when combined with John Gruber’s suggestions for running your Mac Flash-free.


(Also, and somewhat unrelated: I’ve finally gotten tired of the many errors the Delicious-to-weblog plugin was throwing, so I’m going to experiment with moving away from using Delicious as a link aggregator, and just post when I find something interesting. Old-school blogging. Imagine that!)