A fun new piece of photo editing/post-processing software was just released yesterday evening. One of the features that’s become very popular in many of the iPhone photo apps like Camera+ or Instamatic is the easy ability to apply post-processing filters and special effects. Often designed to mimic the analog effects of toy plastic cameras, old film, faded prints, and other imperfections, these filters have become a popular way to add an artistic touch to digital photos.
However, such effects haven’t been that easy to mimic in desktop apps — not impossible, but not one-click simple, and that’s where Flare comes in.

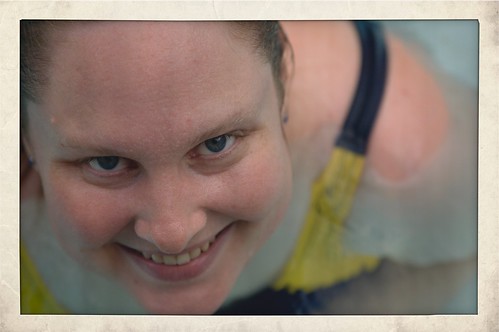
Flare makes adding these kinds of retro effects to any photo incredibly simple: just drag a photo into the window, choose a filter to apply, and export the finished photo to email, a new file, or Flickr. Flare comes with 24 filter presets, and has a small selection (which will apparently be expanded over time) of extra presets that can be downloaded and added to the lineup.
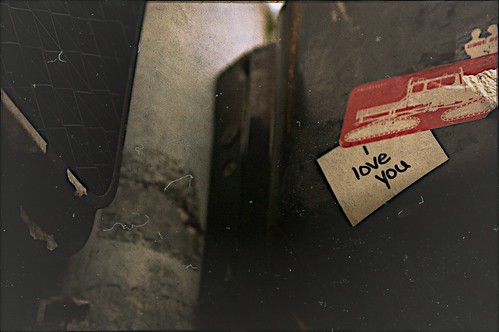
Not content with that, though, each preset is completely editable. The presets are created by mixing together and adjusting combinations of color, texture, border, and effect, and each preset can be adjusted to tweak the final output, or new combinations can be built from scratch. Once the final look is chosen, the settings can be saved as new presets for use on other photos later on. Presets can even be exported from Flare and shared with others (here’s a sample of that effect).
This is a 1.0 release, and while I’ve been enjoying playing with Flare and haven’t run across any bugs, there are some things that I’d love to see in future releases. At the top of my list is image importing: At the moment, the only way to bring an image in to Flare is either a standard “open file” dialog or by drag-and-drop. While this is great for initial simplicity, I tend not to have image files lying around in directories. Rather, they’re all stored in iPhoto or Aperture libraries. While dragging from another program is easy enough, that requires me to have both applications open and taking up screen space. Integrating the standard Mac OS iPhoto/Aperture image browser would make selecting photos to work with much easier.
Update: Thanks to @talosman for pointing out that Mac OS X already has image library support built directly into the “open file” dialog. Just select “Media” from the left hand sidebar, and your iPhoto and Aperture libraries pop right up. Slick! Funny how features like this can easily go overlooked, I’d never stumbled across that before.
I’d also love it if Flare could be more tightly integrated into Aperture. Right now, Flare doesn’t work as an external editor for Aperture (when saving a file after making adjustments, Flare writes to a new file rather than to the file that Aperture created, so the changes don’t get pushed back to Aperture) — and even if it did, I prefer having Aperture tied to the more full-featured Photoshop as an external editor. As Flare is essentially a one-trick pony (admittedly, a very well-trained pony), I’d love to see it available as an Aperture plugin. Happily, there are hints that this is something that may be coming in the future.
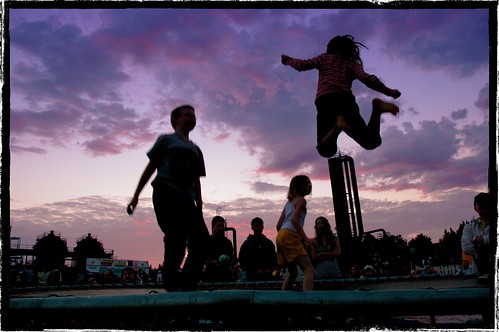
All in all, I’m really impressed with Flare, and had a lot of fun playing with it and exploring different filters and combinations of effects. Flare is $20, and is on sale for half off ($10) for its first week (until March 18th) if bought through the Mac App Store. It’s definitely worth checking out.

